Keeping your toddler's bottles clean is essential for their health and safety. Moreover, using the right baby bottle cleaner ensures thorough sanitization while protecting delicate materials. Furthermore, proper cleaning techniques help extend bottle life and maintain optimal hygiene standards.
Why Proper Bottle Cleaning Matters
Bacteria and germs thrive in milk residue left in bottles. Additionally, improper cleaning can lead to harmful buildup that affects your child's health. Therefore, investing in quality baby bottle cleaners becomes crucial for every parent.
Consequently, regular cleaning prevents odors, stains, and potential infections. Meanwhile, proper sanitization eliminates 99.9% of harmful microorganisms that could make your toddler sick.
Essential Tools for Bottle Cleaning
Baby Bottle Cleaner Kit Components
A comprehensive baby bottle cleaner kit typically includes specialized brushes, cleaning solutions, and sterilizing equipment. Similarly, these kits provide everything needed for thorough bottle maintenance.
Most importantly, quality kits contain bottle brushes, nipple brushes, and cleaning tablets. Additionally, some include steam sterilizers and drying racks for complete bottle care.
Choosing the Right Feeding Bottle Cleaner
Not all cleaners work equally well for different bottle materials. Therefore, selecting an appropriate feeding bottle cleaner depends on your bottle types and cleaning preferences.
Natural cleaners work effectively without harsh chemicals. Meanwhile, antibacterial formulas provide extra protection against stubborn germs and bacteria.
Step-by-Step Cleaning Process
Pre-Cleaning Preparation
First, rinse bottles immediately after use to prevent milk from drying. Subsequently, disassemble all parts including nipples, rings, and caps for thorough cleaning.
Next, check for any cracks or damage that might harbor bacteria. Furthermore, replace worn parts to maintain optimal hygiene standards.
Deep Cleaning Method
Fill your sink with warm, soapy water using quality baby bottle cleaner. Then, scrub each component thoroughly with appropriate brushes designed for bottle cleaning.
Pay special attention to bottle necks and nipple crevices where residue accumulates. Additionally, use a specialized nipple cleaner to reach tight spaces effectively.
Rinse all components under hot running water to remove soap residue. Finally, inspect each piece to ensure complete cleanliness before proceeding to sterilization.
Advanced Cleaning Techniques
Removing Stubborn Stains
Sometimes, regular cleaning doesn't eliminate persistent stains or odors. However, specific techniques can effectively remove stains from baby bottles without damaging the material.
Create a paste using baking soda and water for natural stain removal. Alternatively, use specialized stain-removing solutions designed for baby bottles.
Let the solution sit for 15-20 minutes before scrubbing gently. Subsequently, rinse thoroughly to ensure no cleaning residue remains.
Sterilization Process
After cleaning, sterilization provides an extra layer of protection against harmful microorganisms. Therefore, using the best baby bottle cleaner and sterilizer ensures maximum safety for your toddler.
Steam sterilizers offer convenient, chemical-free sanitization in just minutes. Meanwhile, UV sterilizers provide thorough disinfection without heat or moisture.
Natural Cleaning Alternatives
Eco-Friendly Solutions
Many parents prefer natural cleaning methods for their toddler's bottles. Consequently, simple household ingredients can create effective, safe cleaning solutions.
White vinegar mixed with warm water creates an excellent natural disinfectant. Similarly, lemon juice helps eliminate odors while providing natural antibacterial properties.
These natural alternatives work effectively without introducing harsh chemicals. Furthermore, they're environmentally friendly and cost-effective for regular use.
DIY Cleaning Recipes
Mix equal parts water and white vinegar for a powerful natural cleaner. Additionally, add a few drops of essential oil for pleasant fragrance.
Baking soda paste works excellently for removing tough stains and odors. Meanwhile, salt acts as a natural abrasive for stubborn residue removal.
Maintenance and Storage Tips
Proper Drying Techniques
Air drying prevents bacterial growth better than towel drying. Therefore, place cleaned bottles on a clean drying rack with adequate ventilation.
Ensure all water drains completely from bottles and components. Additionally, avoid enclosed spaces that might trap moisture and promote bacterial growth.
Storage Best Practices
Store clean, dry bottles in a clean, covered container. Furthermore, keep them away from dust and contaminants until next use.
Check stored bottles regularly for any signs of contamination or damage. Meanwhile, replace bottles showing wear or cracks immediately.

Common Cleaning Mistakes to Avoid
Inadequate Rinsing
Soap residue left on bottles can cause digestive issues for toddlers. Therefore, thorough rinsing after cleaning becomes absolutely essential.
Use hot water for final rinses to ensure complete soap removal. Additionally, inspect bottles under good lighting to check for any remaining residue.
Improper Brush Maintenance
Dirty cleaning brushes can recontaminate clean bottles. Consequently, clean and sterilize brushes regularly to maintain their effectiveness.
Replace worn brushes that no longer clean effectively. Meanwhile, store brushes in clean, dry locations between uses.
When to Replace Bottles and Accessories
Signs of Wear
Cracks, chips, or cloudiness indicate it's time for replacement. Additionally, persistent odors despite thorough cleaning suggest bacterial infiltration.
Nipples showing tears or becoming sticky need immediate replacement. Furthermore, discolored components may harbor harmful bacteria.
Replacement Schedule
Replace plastic bottles every 4-6 months with regular use. Meanwhile, glass bottles last longer but require careful inspection for chips or cracks.
Nipples need replacement every 2-3 months or sooner if damaged. Additionally, replace cleaning brushes every 3-4 months for optimal effectiveness.
Conclusion
Proper bottle cleaning protects your toddler's health while extending equipment life. Moreover, using quality baby bottle cleaner products ensures thorough sanitization without harmful chemicals.
Remember that consistency in cleaning routines prevents bacterial buildup and maintains optimal hygiene. Therefore, invest in reliable cleaning products and follow proper techniques for your child's safety.
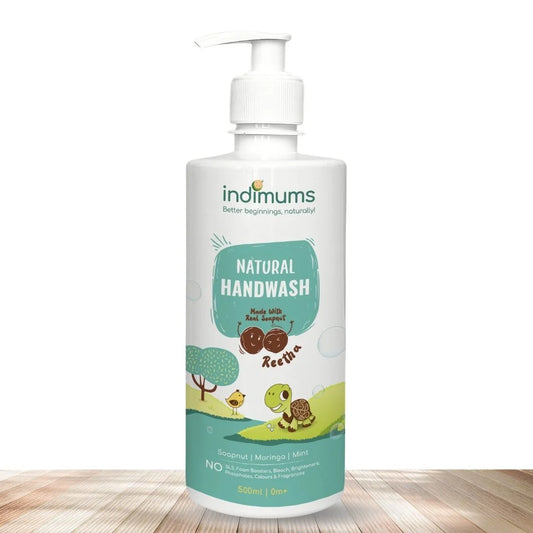
For premium cleaning solutions, consider Indimums bottle and toy cleaner which is Reetha (Soapnut)-based for safe, effective cleaning that parents trust.